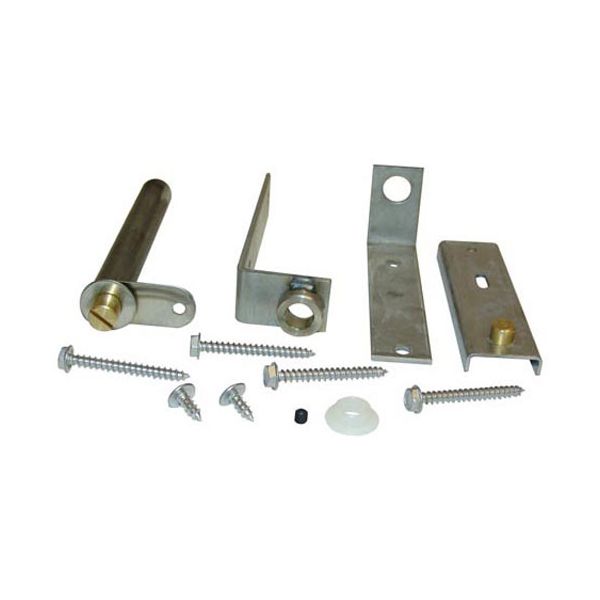
Randell RPHNG028 Hinge Assembly Left Or Right Top Or Bottom
Special Price CAD$290.44 Regular Price CAD$430.30
In stock
SKU
RPHNG028
Manufacturer:

The Randell RPHNG028 Hinge Assembly is a spare component of a commercial equipment. It works by enabling the doors to swing with ease and ensuring that they fit well and close properly, regardless of whether it is installed on the left or right, on the top or bottom. This hinge component, which makes sure that doors perform well, will offer stable performance and will minimize the chances of being damaged in normal operation. It is installed inside the door frame and it adds to the general stability and functionality of the system.
Dimensions
- Length: 7 In
- Width: 5 In
- Height: 2 In
- Weight: 0.74 lbs
Product Notes
- Hinge Assembly For Left Or Right, Top Or Bottom
- Randell