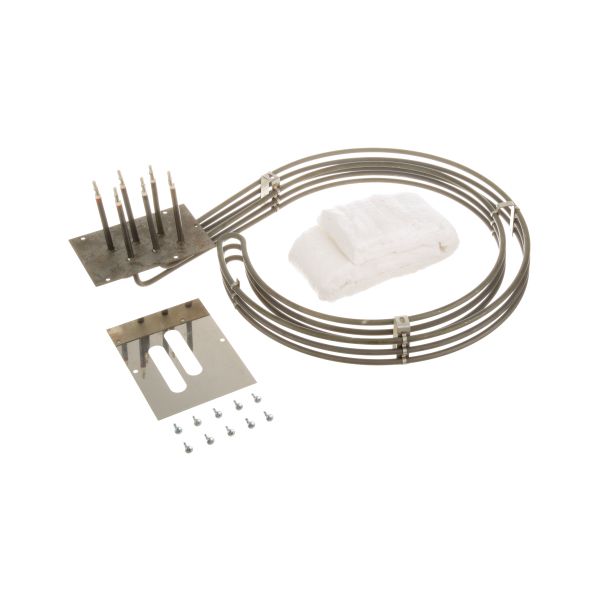
Blodgett 33244 1-3PH Oven Element Assembly W/ Screw Terminals, 12"x22"
Special Price CAD$506.95 Regular Price CAD$904.00
In stock
SKU
33244
Manufacturer:

Blodgett 33244 Heating Element Kit, 10kW, 240V This heating element is of 10kW and is compatible with 1-3 phase power supply. The size of the plate is 12” x 22” and is compatible with several Blodgett models such as Mark V, Zephaire E, SHI-E, and SHO. The set comes with screw terminals 10-32 for good connections hence effective heating is achieved. Perfect for use in maintaining the right temperature in your commercial kitchen appliances.
Dimensions
- Length: 23 In
- Width: 16 In
- Height: 9 In
- Weight: 1 lbs