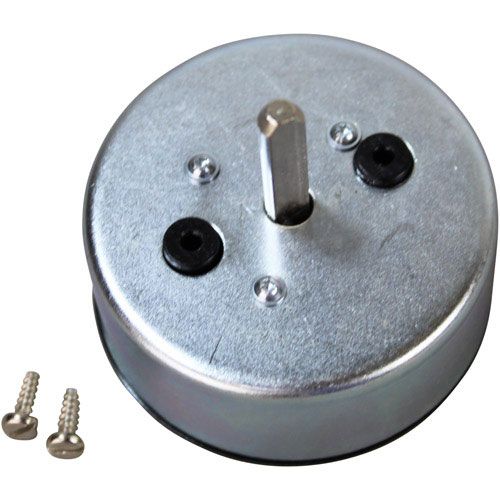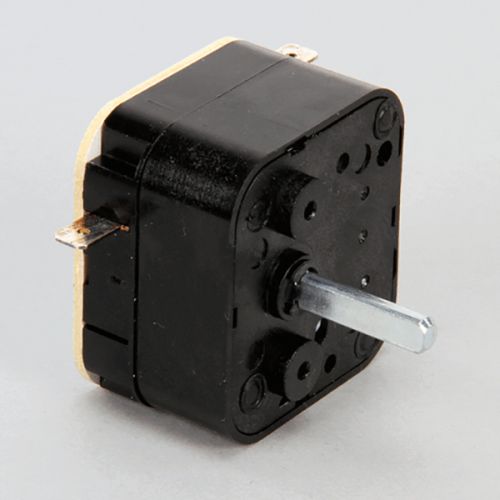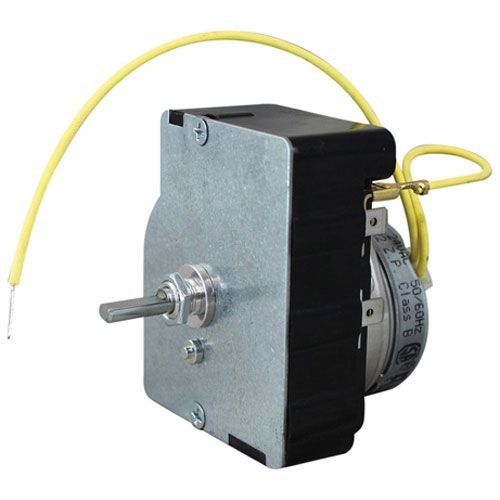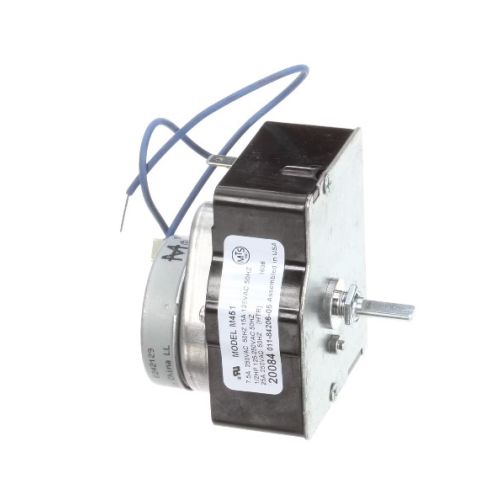
Southbend 1176416 Oven Motorized Timer 60 Minute 240V 60Hz
CAD$580.35
In stock
SKU
1176416
Manufacturer:

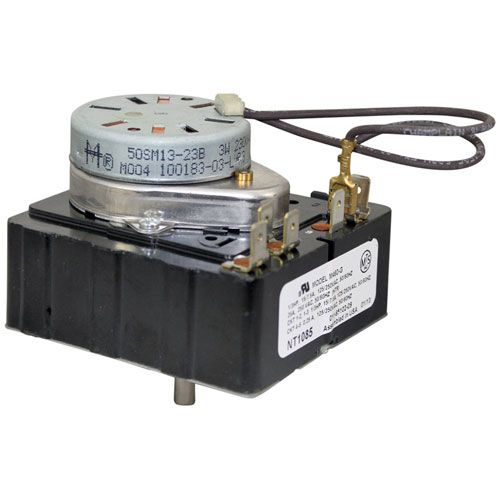
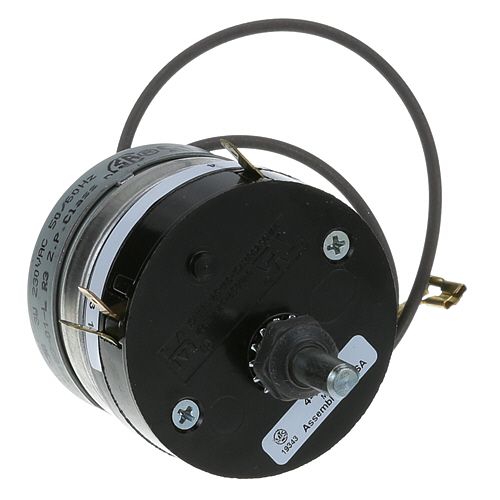
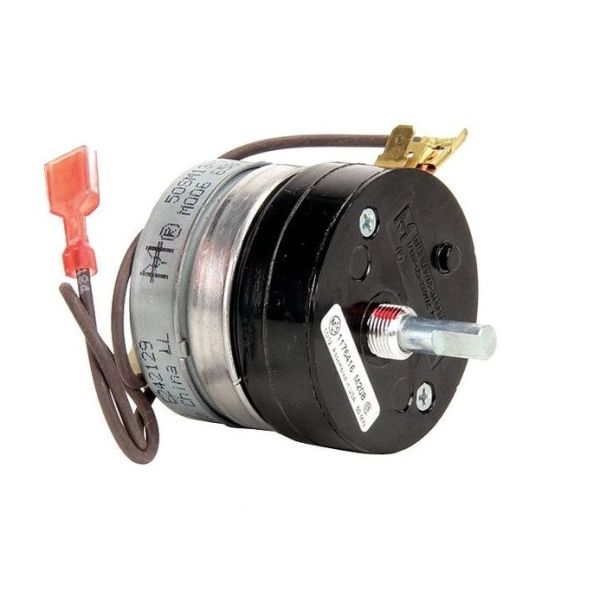
The Southbend 1176416 Motorized Timer is a component that allows the cooking time to be controlled by a motor-driven system that automatically moves the timer dial. When programmed, it controls the heating cycle of the oven, so that different cooking operates are timed exactly. It is installed on the inside of commercial and residential oven walls and is attached to the control panel, where it is linked to the electrical system to control the flow of power. This 60-minute timer operates on 240V at 60Hz, and can be used with standard circuits.
Dimensions
- Length: 5 In
- Width: 4 In
- Height: 2.5 In
- Weight: 0.3 lbs
Product Notes
- 240V/60Hz