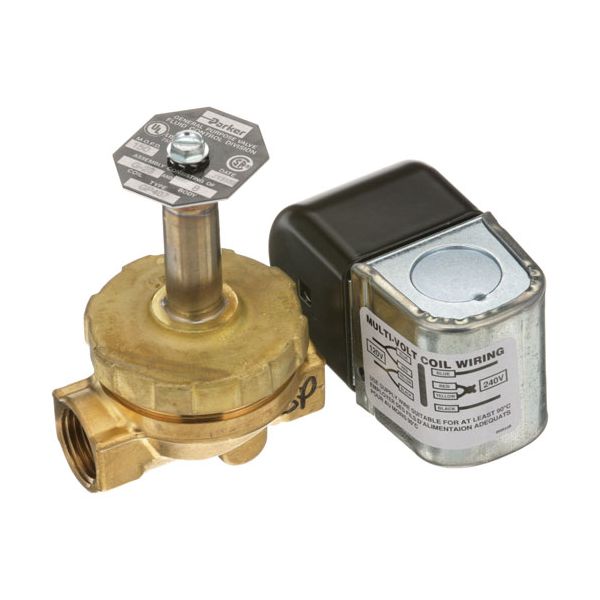
Parker Hannifin GP407-120/240V Solenoid Valve 1/2" 120/240V
Special Price CAD$222.24 Regular Price CAD$235.19
In stock
SKU
GP407-120/240V
Manufacturer:

The Parker Hannifin GP407-120/240V Solenoid Valve functions as hot water and steam control valve made to work with Champion Dishwasher KL-44, KL-66, Upright Conveyor, and Jackson models. This valve controls water and steam flow through its 1/2" FPT connection and normally closed operation while functioning with 120/240V power. The valve operates reliably under conditions that reach 225°F and support pressures from 1 to 150 PSI in commercial kitchen environments. Maintenance requirements stay low because of its durable structure which results in prolonged equipment life expectancy and peak operational efficiency thereby becoming required for a dishwasher's steady performance.
Dimensions
- Length: 3.375 In
- Width: 4.875 In
- Height: 4.875 In
- Weight: 2 lbs
Product Notes
- [ Hot Water/Steam Solenoid Valve ]
- Max Temp 225F/107C, 1-150 Psi.
- [ Size 1/2" Fpt ] [ Nc ]
- [ 120/240 V ] [ Width 2-1/2" ] 10 Psi.
- [ Brand Parker Jackes Evans ] [ Mfg# Gp407 ]
- For Repair Kit Use # 51-1446
- For Coil Use # 51-1205
- Champion Dishwasher Kl-44, Kl-66, Upright Conveyor
- Jackson Dishwasher 24 (B, Bf, L)
- Vulcan Dishwasher, 3D-20
- ***For Champion 109886 And Jackson 4810-100-12-18, Use Ap#
- 8012103.
- Jackson 4810-100-09-18 Is An Incorrect Cross - Special Order
- If Needed***