How to Replace a Rinse Aid Dispenser in a Commercial Dishwasher
Replacing a rinse aid dispenser in a commercial dishwasher is essential for maintaining spotless, streak-free dishes and ensuring efficient drying cycles. Over time, dispensers can become clogged, leak, or stop working entirely, leading to subpar cleaning results and potential equipment damage. Fortunately, with the right tools and a bit of guidance, replacing the rinse aid dispenser is a straightforward task that can help keep your dishwasher running at peak performance. Whether you’re a kitchen manager, technician, or hands-on business owner, this step-by-step guide will walk you through the process safely and efficiently. By following these instructions, you’ll restore optimal function to your dishwasher rinse aid dispenser and improve the overall quality and hygiene of your dishwashing operation.
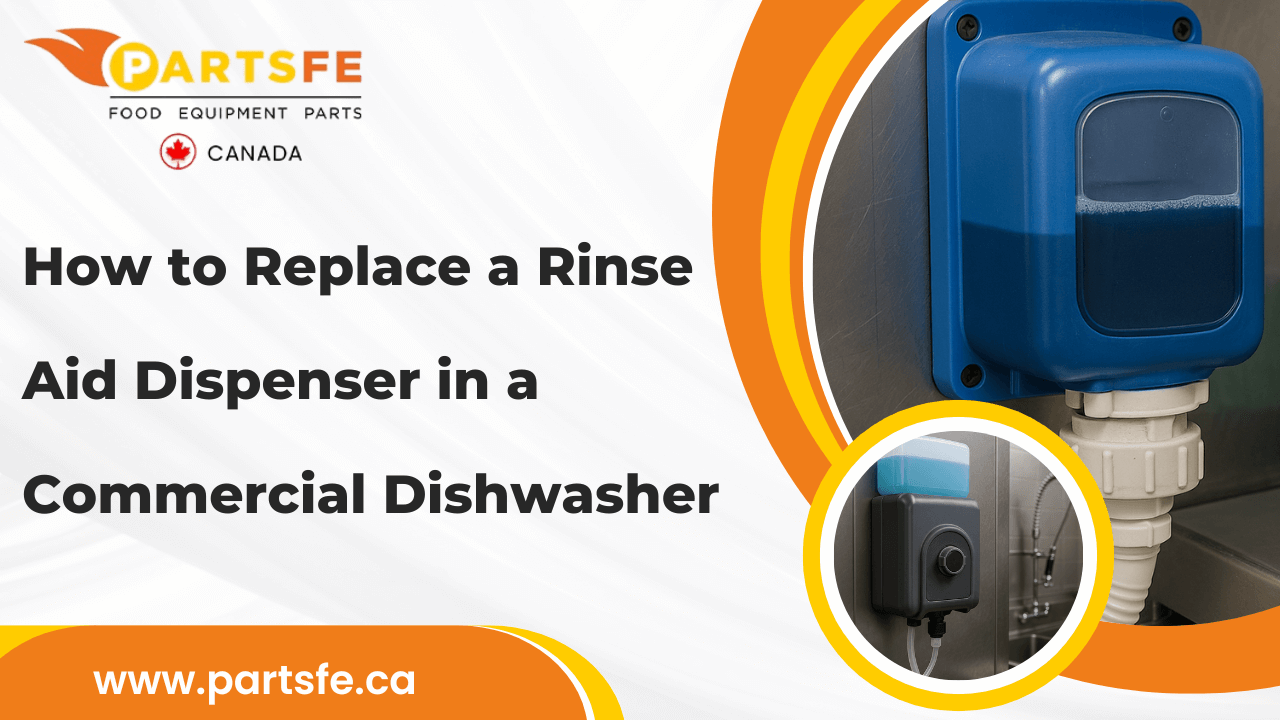
What is the Rinse Aid Dispenser and Why It Matters in Commercial Dishwashers
The rinse aid dispenser in a commercial dishwasher plays a key role in delivering sparkling clean, streak-free dishes. During the last rinse cycle, it automatically releases a predetermined amount of rinse aid. This liquid reduces surface tension in water, helping it run off dishes more easily, leaving less moisture and fewer spots behind.
In busy commercial kitchens, this feature isn’t just a nice-to-have; it is essential. Without it, dishes may come out wet, cloudy, or covered in water spots, which not only look unprofessional but may also lead to poor sanitation.
Here’s why the rinse aid dispenser matters:
-
Faster Drying: Rinse aid accelerates the drying process by allowing water to drain off surfaces more efficiently.
-
Spot-Free Finish: It helps prevent mineral deposits and streaks, keeping glassware and dishes looking clean and polished.
-
Improved Hygiene: By improving rinse efficiency, it removes leftover detergent and food particles, promoting better hygiene.
-
Efficiency Boost: Cleaner results the first time around reduce the need for repeat wash cycles, saving time and resources.
-
Longer Equipment Life: Using rinse aid minimizes mineral buildup, especially around the rinse aid dispenser basket, helping to extend the lifespan of internal dishwasher parts.
By keeping the rinse aid dispenser in good condition or replacing it when necessary, you ensure top-tier results and keep your kitchen running efficiently.
Need to replace parts to keep your commercial dishwasher performing at its best? PartsFeCA offers premium rinse aid dispensers, pumps, and seals, as well as door latches from leading brands such as Hobart, Jackson, and CMA.
How to Identify When Your Rinse Aid Dispenser Needs Replacement
Recognizing the signs of a failing rinse aid dispenser helps maintain your dishwasher’s performance and ensures spotless, dry dishes every time. The following are the most typical signs that the dispenser needs to be replaced:
-
Water Streaks and Spots on Dishes: If items, particularly glassware, have streaks or stains that don't go away, the rinse aid may not be being released from the dispenser correctly.
-
Dispenser Does Not Release Rinse Aid: When the rinse aid reservoir is full but no rinse aid is dispensed during the cycle, this signals a malfunction.
-
Leaks Around the Dispenser Area: Visible leaks or pooling of rinse aid near the dispenser or inside the dishwasher point to cracks or faulty seals.
-
Inconsistent Rinse Aid Usage: If you notice sudden drops or spikes in rinse aid consumption without changes in use, the dispenser could be faulty.
-
Visible Damage or Corrosion: Cracks, rust, or wear on the dispenser housing indicate it’s deteriorating and may soon fail.
-
Dispenser Faulty Error Codes: Some modern dishwashers display specific error messages alerting you to dispenser issues.
Monitoring these signs and addressing them promptly can save you time and money, ensuring your dishwasher continues to run efficiently.
Essential Tools and Safety Measures Before Replacing the Dispenser
Before replacing the rinse aid dispenser in your commercial dishwasher, it’s essential to prepare by gathering the necessary tools and following key safety measures. This guarantees a safe and effective completion of the task.
Tools Required:
-
Screwdrivers: Both Phillips and flathead screwdrivers are commonly required to remove panels and dispenser components.
-
Wrench or Socket Set: Useful for loosening bolts or nuts securing the dispenser.
-
Replacement Dispenser: Make sure you have the correct model designed for your dishwasher.
-
Cleaning Cloths or Rags: To remove any debris or rinse aid that may have spilled.
-
Bucket or Container: To catch any residual rinse aid or water when removing the dispenser.
Safety Measures to Follow:
-
Turn Off and Unplug the Dishwasher: Always disconnect power before starting any maintenance to avoid electrical hazards.
-
Shut Off the Valve: Turn off the water supply to avoid flooding or leaks while the replacement is being done.
-
Wear Protective Gloves: Rinse aid chemicals can irritate skin; gloves provide necessary protection.
-
Work in a Well-Ventilated Area: Steer clear of cleaning solution or rinse aid fumes.
-
Follow Manufacturer Instructions: Refer to the dishwasher’s manual for model-specific guidance.
By preparing properly and prioritizing safety, you’ll make the rinse aid dispenser replacement efficient and hazard-free.
How to Troubleshoot Common Rinse Aid Dispenser Problems Before Replacement
Detecting and fixing common rinse aid dispenser problems promptly can often help avoid a complete replacement. Troubleshooting simple problems helps keep your dishwasher running smoothly and efficiently.
Rinse Aid Dispenser Not Working
Symptom: Dishes come out spotted or wet because no rinse aid is released during the rinse cycle.
Cause: The rinse aid reservoir may be empty, or the dishwasher rinse aid dispenser full of water may cause a clogged nozzle, faulty valve, motor issue, or incorrect dosage setting.
Solution: Refill the rinse aid reservoir if empty, clean the dispenser nozzle to remove blockages, test and replace the dispenser motor or solenoid if needed, and increase the dosage setting to ensure proper rinse aid release.
Leaking Rinse Aid Dispenser
Symptom: You observe liquid leaking or dripping near the dispenser during or after the wash cycle.
Cause: Loose fittings or screws, worn or damaged seals, or chemical buildup causing improper sealing lead to a rinse aid dispenser leaking issue.
Solution: Tighten all fittings and screws around the dispenser, replace any worn or damaged seals, and clean away buildup to restore a proper seal and prevent leaks.
Dispenser Light Stays On
Symptom: The rinse aid warning light on the dishwasher remains lit even after refilling the rinse aid.
Cause: Faulty sensor or float switch, wiring issues, or the dishwasher needs to be reset.
Solution: Reset the dishwasher according to the manufacturer’s instructions, inspect and clean or replace the rinse aid sensor or float switch, and check wiring connections for damage or corrosion, repairing as necessary.
Inconsistent Rinse Aid Dispensing
Symptom: Rinse aid is dispensed irregularly, leading to uneven drying and spotting on dishes.
Cause: Incorrect dosage settings, a rinse aid dispenser clogged with residue, or a malfunctioning control board.
Solution: Adjust the dosage control to the manufacturer’s recommended setting, thoroughly clean the dispenser lines to remove blockages, and test or replace the control board if it is faulty.
No Mechanical Movement or Sound During Rinse Aid Cycle
Symptom: The dispenser does not make the usual activation noise during the rinse cycle and fails to dispense rinse aid.
Cause: Electrical failure in the dispenser motor or solenoid, broken wiring, or a faulty control module.
Solution: Inspect and repair wiring connections, test the dispenser motor or solenoid and replace if defective, and check the control module for faults and repair or replace as needed.
Physical Damage or Cracks on Dispenser
Symptom: Visible cracks, broken parts, or damage on the rinse aid dispenser housing.
Cause: The dishwasher rinse aid dispenser breaks due to wear and tear, accidental impact, or chemical corrosion over time.
Solution: Replace the entire rinse aid dispenser assembly with a compatible new unit to restore functionality and prevent leaks.
Steps to Replace Commercial Dishwasher’s Rinse Aid Dispenser
Replacing a faulty part is easier than you might think. This dishwasher rinse aid dispenser replacement guide will walk you through each step for a smooth, hassle-free repair.
Step 1: Prepare Your Workspace
-
Shut Off Power: Turn off the dishwasher at the circuit breaker and unplug if possible.
-
Close Water Supply: Shut off the valve connected to the dishwasher to prevent water flow.
-
Clear the Area: Make space around the machine and place towels or cloths to catch spills.
Step 2: Access the Dispenser
-
Open the Door Panel: Fully open the dishwasher door and locate screws around the inner panel.
-
Remove Inner Panel: Unscrew and carefully remove the inner door panel to access the dispenser.
-
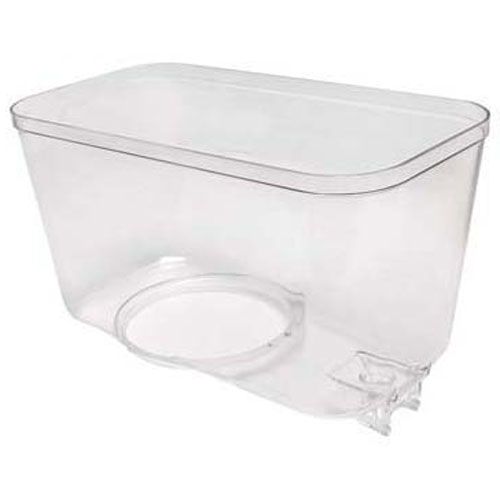
Locate the Dispenser: Identify the rinse aid dispenser, typically near the detergent compartment.
Step 3: Disconnect the Old Dispenser
-
Detach Hose: Carefully disconnect the rinse aid hose (have a towel ready for drips).
-
Unplug Wiring: Gently disconnect any electrical connectors, pressing release tabs if needed.
-
Remove Dispenser: Take the old dispenser off of its mounting bracket by unscrewing or unclipping it.
Step 4: Install the New Dispenser
-
Confirm Compatibility: Ensure the new dispenser matches your dishwasher model and connections.
-
Secure the Dispenser: Using the included screws or clips, position the new device and secure it.
-
Reconnect Components: Attach the hose and electrical connectors securely, ensuring proper fit.
Step 5: Reassemble & Refill
-
Reattach Door Panel: Reinstall the inner door panel and tighten all screws evenly.
-
Turn On Power and Water: Restore electricity and reopen the water supply valve.
-
Refill Rinse Aid: Pour rinse aid into the new dispenser reservoir up to the fill line.
Step 6: Test & Inspect
-
Run Test Cycle: Start a short rinse or cleaning cycle without dishes to check functionality.
-
Check Dispenser Operation: Make sure the last rinse releases the rinse aid.
-
Look for Leaks: Inspect all connections and seals for any water or chemical leaks.
Step 7: Final Checks
-
Confirm Indicator Reset: Check if the rinse aid indicator light has turned off or reset.
-
Clean Surrounding Area: Wipe down any excess rinse aid or water from the machine.
-
Dispose of Waste Materials: Properly dispose of used towels and parts according to guidelines.
Check out this guide on commercial dishwasher water inlet valve replacement for easy-to-follow steps to keep your machine running smoothly.
Tips To Maintain Rinse Aid Dispenser For Long-Lasting Performance
Regular maintenance of your rinse aid dispenser guarantees reliable cleaning performance and prolongs the lifespan of your commercial dishwasher. To keep it functioning optimally, follow these practical tips:
-
Clean the Dispenser Regularly: At least once a month, wipe down the dispenser opening, rinse aid dispenser cap, and reservoir to clear any buildup, preventing blockages and ensuring a smooth flow of rinse aid.
-
Use the Right Rinse Aid: Always select a commercial-grade rinse aid specifically designed for your dishwasher model. Using the correct product ensures optimal dispensing and prevents damage.
-
Avoid Overfilling: Fill the dispenser only up to the indicated fill line to prevent spills. Overfilling can cause leaks or damage the internal components of the dispenser.
-
Inspect for Leaks: Frequently check around the dispenser area and door seal for any signs of leakage. Leaks should be found early to avoid chemical waste and water damage.
-
Run a Cleaning Cycle: Using an appropriate cleanser, run a dishwasher cleaning cycle regularly. This aids in clearing off residues that can corrode or clog the dispenser's internal components.
-
Monitor the Indicator Light: Watch for low rinse aid alerts on the machine and refill promptly. Keeping the dispenser filled ensures consistent cleaning and drying performance.
-
Check for Wear and Tear: Frequently check the dispenser for corrosion, loose parts, or cracks. Early detection of these problems can help avoid unplanned malfunctions and expensive repairs.
Regular maintenance keeps your rinse aid dispenser working efficiently and extends your dishwasher’s lifespan. Additionally, it guarantees pristine dishes at every cycle and helps avoid expensive damage.
Check out these maintenance tips for your commercial dishwasher to ensure optimal performance and the lifespan of your equipment.
Conclusion
Replacing a commercial dishwasher rinse aid dispenser isn’t just about fixing a faulty part, as it directly impacts wash quality, energy efficiency, and customer satisfaction. A malfunctioning dispenser can lead to spotty, poorly dried dishes, increased detergent use, and longer cycle times, all of which can slow down operations and raise costs. By ensuring the dispenser functions correctly, you maintain the high hygiene standards expected in commercial kitchens and extend the life of your equipment. Timely replacement isn’t just maintenance, it’s a smart investment in the overall performance of your dishwashing system.
FAQs
What to do if the dishwasher dispenser is broken?
If the dishwasher dispenser is broken, replace it with a compatible part to ensure proper detergent release. In the meantime, you can add detergent manually during the wash cycle.
How to remove rinse aid dispenser?
To remove the rinse aid dispenser, open the dishwasher door and gently pull or twist the dispenser unit according to your model’s instructions. Always refer to the user manual to avoid damage.
How to fix leaking rinse aid dispenser?
Fix a leaking rinse aid dispenser by checking for cracks or worn seals and replacing any damaged parts. Clean the dispenser regularly to prevent buildup that may cause leaks.
How to refill a rinse aid dispenser?
To refill, open the rinse aid cap on the dispenser, pour in rinse aid until the indicator shows full, and securely close the cap. Avoid overfilling to prevent leaks.