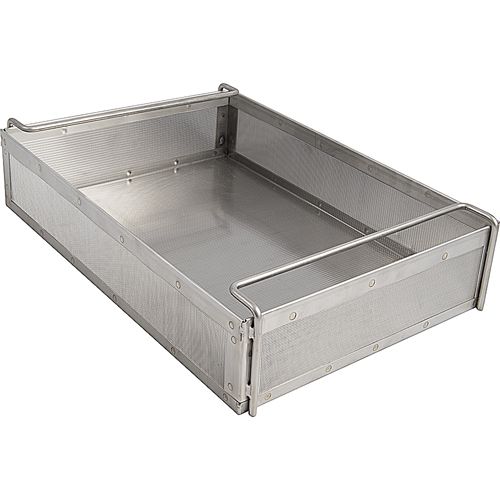

Commercial Deep Fryer Filter Replacement: When and How to Replace It
Is your commercial deep fryer producing inconsistent results, filtering oil slowly, or leaving food debris behind? A clogged, saturated, or damaged commercial deep fryer filter can allow contaminants to circulate through the oil, reduce filtration efficiency, and contribute to poor oil quality and inconsistent frying performance.
Regular cooking oil filtration helps remove food particles, carbonized debris, and other contaminants while supporting better oil performance and efficient fryer operation. Knowing when to replace your deep fryer oil filter and choosing the right fryer filter replacement parts can help maintain cleaner oil, improve filtration, and support proper commercial fryer maintenance.
In this blog, we’ll cover when to replace a commercial deep fryer filter, how to replace it, and how to choose the right filter for better oil quality and fryer performance. You can also find practical commercial fryer maintenance information for restaurant owners, foodservice operators, and kitchen technicians looking for accurate fryer filter replacement guidance.
Why Commercial Deep Fryer Filter Replacement Matters
Frying oil is exposed to heat, oxygen, moisture, and food debris, which accelerates degradation and affects cooking performance. Regular filtration helps remove contaminants and maintain consistent oil quality. Key factors include:
-
Oil Degradation: Hydrolysis, oxidation, and polymerization can darken oil, increase viscosity, and create unwanted compounds.
-
Food Debris: Breading and batter particles can settle in the fryer and continue to carbonize.
-
Filter Condition: A saturated or damaged filter may allow particles to recirculate, causing off-flavors, residue, and inconsistent frying results.
-
Oil Life: Daily filtration may extend usable oil life from roughly three days to six or seven days under suitable conditions.
-
Responsible Disposal: Canadian operators should collect used cooking oil properly and follow local requirements for fats, oils, and grease disposal.
Looking for commercial kitchen equipment parts? Shop commercial fryer parts at PartsFe, including fryer filter return ball valves, gas conversion kits, fryer baskets, and basket support racks to ensure better fryer maintenance.
When Should You Replace a Commercial Deep Fryer Filter?
A commercial deep fryer filter should be replaced when filtration becomes slow, oil debris continues to circulate, the filter media becomes saturated or damaged, or the manufacturer’s recommended replacement interval has been reached. Below are the key signs that indicate it may be time to replace the filter:
-
Restricted Oil Flow: A buildup of food particles can create a filter cake that restricts oil flow. Slow oil return or a filtration pump working harder than usual can indicate a clogged filter.
-
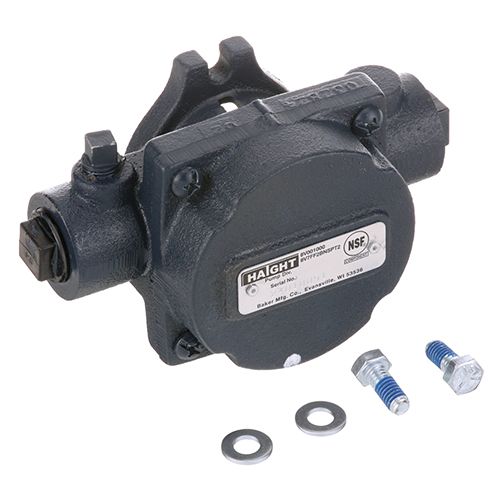
Increased Pump Resistance: A clogged filter can increase the load on the filtration pump. Higher-than-normal pressure may indicate restricted media, while unusually low pressure can suggest a loose connection, damaged seal, or air entering the suction line.
-
Debris Returning to the Fryer: If carbonized particles continue appearing in filtered oil, the filter may be saturated, damaged, incorrectly installed, or allowing oil to bypass the filter media.
-
Rapid Oil Quality Decline: Dark, smoky, or heavily contaminated oil despite regular filtration can indicate that the filter is no longer removing suspended contaminants effectively. Total Polar Materials (TPM) testing can also help objectively monitor oil degradation.
-
Established Replacement Schedule: High-volume kitchens using disposable filter media may need to replace the media at least daily, with more frequent replacement required in continuous or 24-hour operations. Always follow the fryer manufacturer's specific replacement recommendations.
How to Replace a Commercial Deep Fryer Filter Step by Step
For safe commercial deep fryer filter replacement, always follow the fryer manufacturer’s instructions for oil temperature, filtration procedures, compatible filter media, and component installation. The following steps explain how to safely replace commercial deep fryer filter media and ensure the filtration system operates properly:
Step 1: Shut Down the Fryer and Stabilize the Oil
Turn off the heating elements and allow the oil to reach the manufacturer's recommended filtration temperature, typically around 120°C to 150°C (250°F to 300°F) for compatible systems.
Step 2: Position the Filter Pan
Open the fryer cabinet, release the filter pan latch, and carefully position the pan beneath the fryer vat. Make sure the pan and receiving components are correctly aligned.
Step 3: Drain the Fryer Oil
Open the drain valve and allow the hot oil to flow into the filter pan. Keep your hands and exposed skin away from the oil while operating the drain according to the manufacturer's instructions.
Step 4: Remove the Used Filter Media
Remove the filter pan cover and crumb basket, then remove the hold-down ring or paperweight. Lift out the saturated filter sheet and dispose of it properly.
Step 5: Clean the Filter Components
Remove oil and sediment from the filter pan, crumb basket, and support screen. If water is used during cleaning, ensure all components are completely dry before they contact hot oil.
Step 6: Inspect the O-Rings and Connections
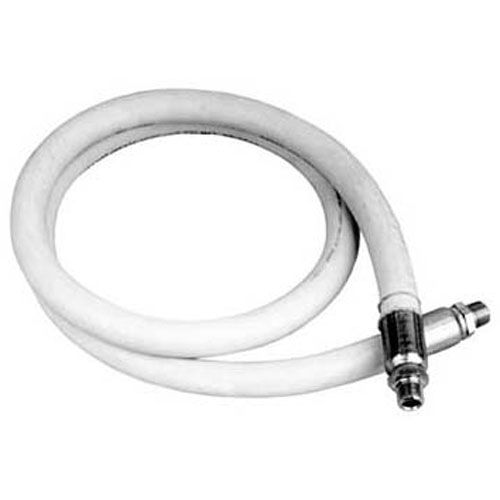
Check the pickup-tube O-rings and quick-disconnect fittings for cracks, wear, or deformation. Replace damaged components to prevent air from entering the suction line.
Step 7: Install the New Filter Media
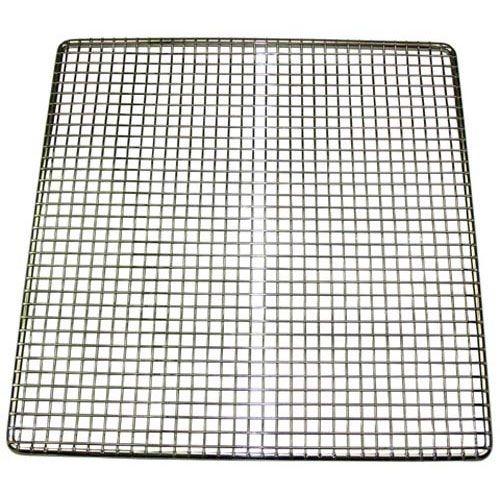
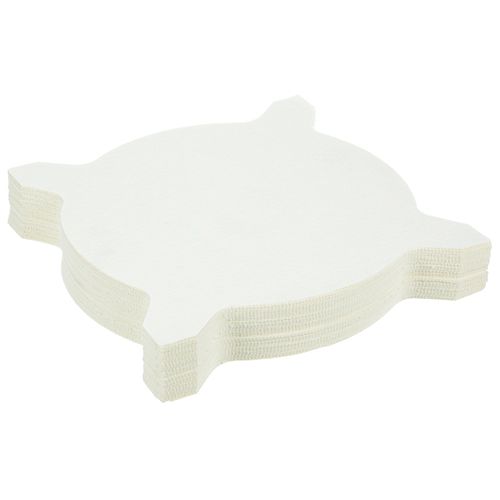
Place the support screen flat inside the filter pan and position the new filter sheet evenly over it. Remove folds and wrinkles, then secure the sheet with the hold-down ring and reinstall the crumb basket.
Step 8: Add Filter Powder When Required
If approved by the fryer manufacturer, apply the recommended amount of filter powder evenly over the filter paper. Do not use unapproved powders or filtration chemicals.
Step 9: Reinstall and Test the Filter Pan
Slide the filter pan into position and ensure the receiver connection is properly seated. Run the filtration cycle and check for strong, consistent oil flow. Weak flow or persistent air bubbles may indicate an installation or connection problem.
Check out commercial deep fryer oil filter: benefits, types & maintenance guide for restaurants
How to Choose the Right Commercial Deep Fryer Filter Replacement
The following factors can help you select the right commercial deep fryer filter replacement:
-
Match the Fryer Model: Use the fryer model and serial number to select the correct filter sheet, pad, screen, hold-down ring, and other fryer filter replacement parts.
-
Select the Right Filter Media: Choose filter paper or cellulose-based media that can capture crumbs, breading, and carbonized particles. Some filter media can capture particles down to about 30 microns.
-
Check the Filtration System: Make sure the filter fits the specific pan or filtration assembly. It should cover the filtration surface completely without gaps, folds, or bypass points.
-
Inspect Supporting Components: Check the support screen, crumb basket, O-rings, and hold-down ring. Replace worn or damaged components to maintain proper filtration.
-
Verify Safety Requirements: Choose components suitable for commercial foodservice use and verify applicable safety and sanitation requirements, such as relevant CSA, UL, Intertek, QPS, or NSF standards.
Watch the best commercial deep fryer buying guide for restaurants
Summary: Replace Your Fryer Filter at the Right Time for Better Oil Performance
Replacing a commercial deep fryer filter at the right time helps maintain clean cooking oil, efficient filtration, and consistent frying performance. Regular inspection and proper commercial fryer maintenance can help prevent clogged filters, restricted oil flow, and debris buildup while supporting longer oil life and reliable fryer operation. Using the correct filter and compatible fryer filter replacement parts also helps ensure the filtration system works properly.
Key Takeaways
-
Replace clogged, saturated, torn, or damaged filter media to maintain effective oil filtration.
-
Monitor for slow oil return or increased pump resistance, which may indicate a restricted filter.
-
Regular filtration helps remove food particles and carbonized debris that can degrade cooking oil.
-
Inspect the filter pan, support screen, crumb basket, O-rings, and connections for wear or buildup.
-
Choose a commercial fryer filter and replacement parts that match your fryer model and filtration system.
-
Follow the manufacturer's recommendations for filter replacement, cleaning, and safe fryer maintenance.
FAQs
How often should a commercial deep fryer filter be replaced?
A commercial deep fryer filter should be replaced based on fryer usage, filter condition, and the manufacturer’s recommendations. In high-volume kitchens, disposable filter paper or pads may need to be replaced daily or more frequently.
Can a commercial fryer filter be cleaned and reused?
Yes, reusable fryer filter screens can typically be cleaned and reused if they are not damaged or clogged. Disposable filter paper and pads should not be reused and should be replaced after use.
What is the difference between fryer filter paper, pads, and screens?
Fryer filter paper and pads are generally disposable and remove food particles and debris from cooking oil. Reusable filter screens provide filtration support and can be cleaned for repeated use.
Can I use a universal filter in my commercial deep fryer?
You can use a universal fryer filter only if it is compatible with your fryer and meets the manufacturer’s specifications. The wrong filter size or type can cause oil bypass, poor filtration, or improper fitting.
|
Disclaimer: This content is for general informational purposes only. Always follow the fryer manufacturer’s safety, maintenance, and filter replacement guidelines for proper and safe operation. |