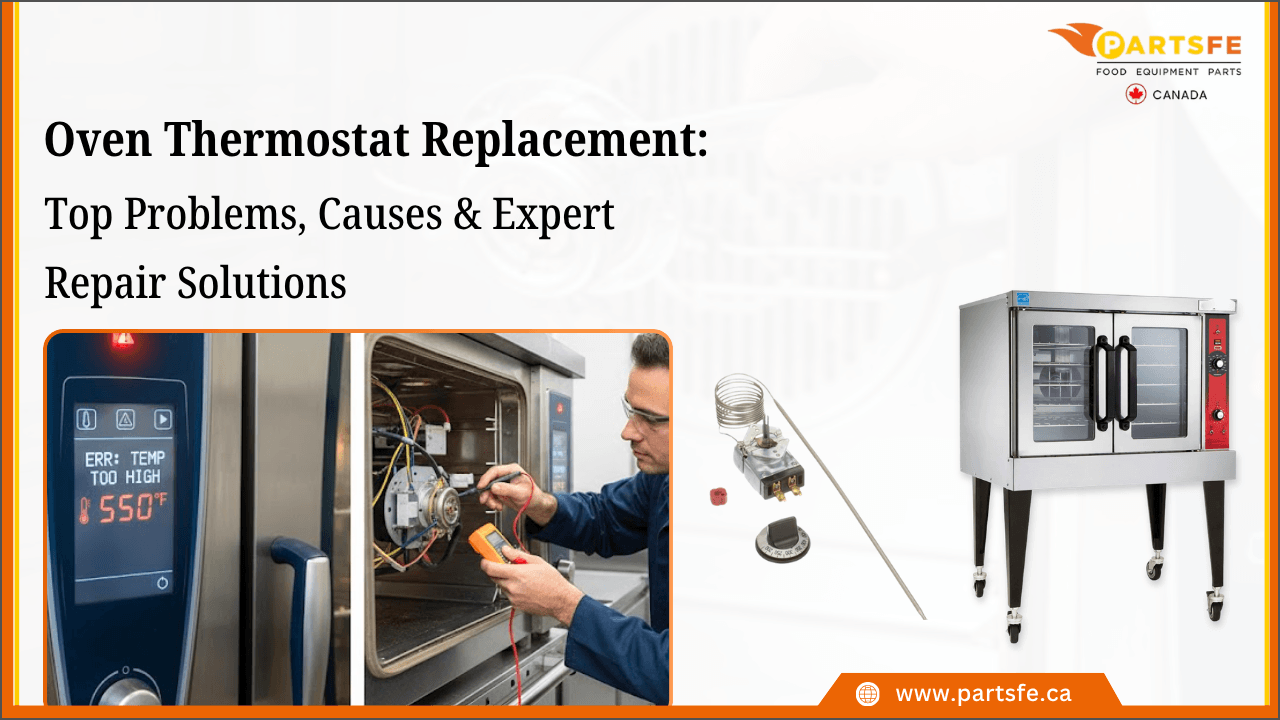
Oven Thermostat Replacement: Top Problems, Causes & Expert Repair Solutions
A properly working oven thermostat is essential for maintaining accurate temperatures and consistent cooking results. Whether you are baking, roasting, or preparing large batches of food, the thermostat regulates heat by monitoring the oven temperature and adjusting the heating cycle as needed.
When an oven thermostat starts failing, it can cause problems such as uneven cooking, overheating, longer cooking times, or failure to reach the selected temperature. These issues not only affect food quality but can also increase energy usage and place additional stress on other oven components.
Replacing a faulty oven thermostat at the right time helps restore temperature accuracy, improve appliance efficiency, and prevent more expensive repairs. In this blog, we will explain how oven thermostats work, common problems and warning signs, replacement options, and maintenance tips to extend their lifespan.
Understanding Oven Thermostats and Why They Matter
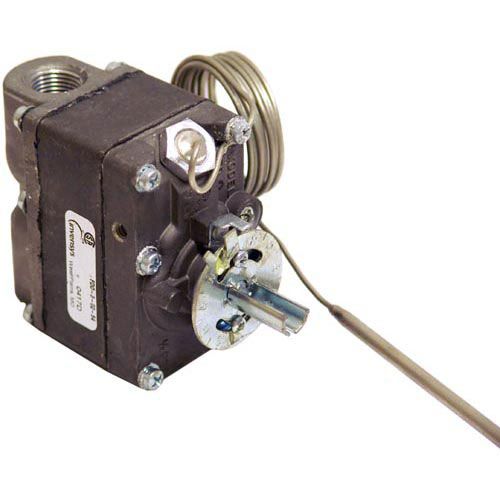
An oven thermostat regulates temperature by sensing heat levels inside the oven and controlling the heating cycle to maintain the selected setting. It plays a key role in ensuring consistent cooking results, preventing undercooked or overcooked food.
Over time, heat exposure, frequent use, and electrical issues can cause thermostat wear, leading to inaccurate temperature readings or heating problems. Replacing a faulty thermostat with a compatible part helps restore reliable oven performance and temperature control.
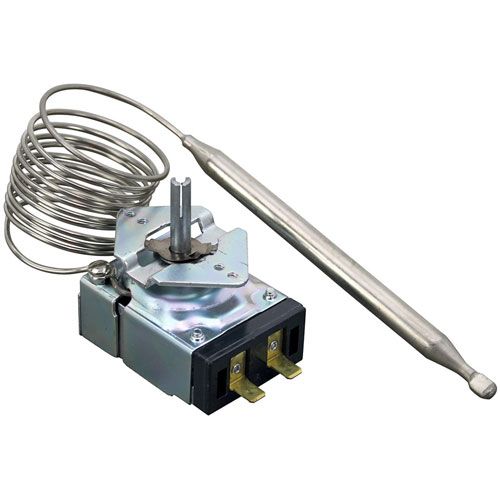
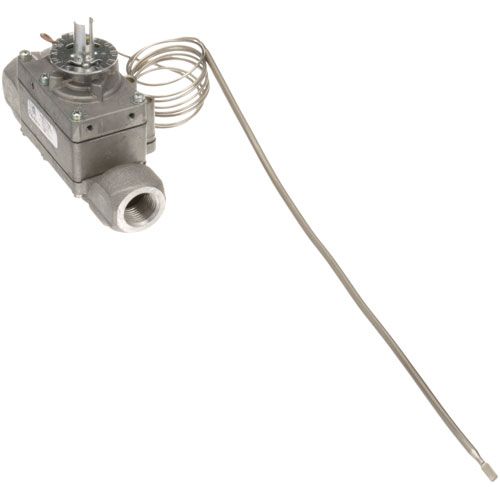
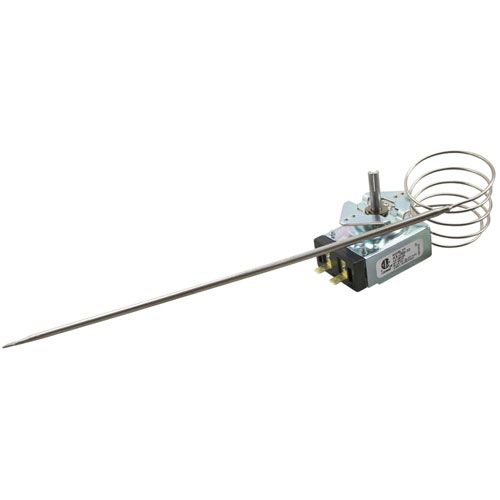
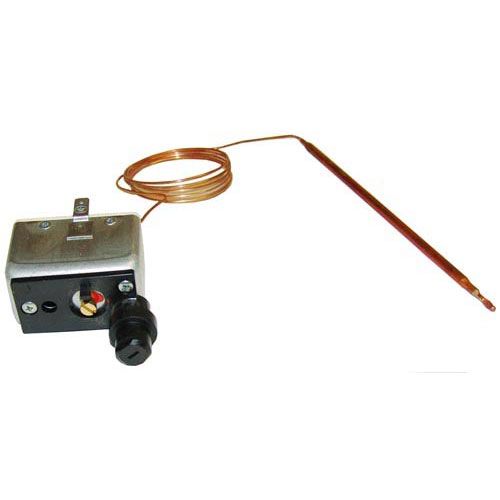
Looking for commercial kitchen equipment parts? Shop oven thermostat replacement parts at PartsFe, including heating elements, temperature sensors, control boards, and door switches to restore consistent heating.
Common Oven Thermostat Problems, Causes & Warning Signs
The table below highlights common thermostat issues, their possible causes, and warning signs to help identify problems early.
|
Problem |
Primary Causes |
Warning Signs |
|
Oven Not Heating to the Set Temperature |
Faulty thermostat sensor, damaged contacts, electrical connection issues |
Oven takes longer to heat, food remains undercooked, temperature does not reach the selected setting |
|
Oven Overheating |
Stuck thermostat contacts, incorrect calibration, sensor failure |
Burnt food, excessive heat, oven temperature rises beyond the selected level |
|
Uneven Baking or Roasting |
Inaccurate temperature regulation, thermostat wear, poor heat control |
Unevenly cooked food, hot and cold areas inside the oven |
|
Oven Temperature Fluctuations |
Weak thermostat response, worn internal components |
Frequent temperature changes during cooking cycles |
|
Inaccurate Temperature Readings |
Calibration problems, damaged sensing components |
Actual oven temperature differs from the displayed or selected temperature |
|
Thermostat Sensor Failure |
Heat damage, aging components, physical damage |
Oven cannot detect temperature changes correctly |
|
Calibration Issues |
Incorrect adjustment, component wear, improper settings |
Oven consistently runs hotter or cooler than expected |
|
Electrical Wiring or Connection Problems |
Loose wires, damaged connectors, corrosion |
Intermittent heating, thermostat stops responding, inconsistent operation |
Watch oven thermostat replacement: everything you need to know to avoid common mistakes
Expert Oven Thermostat Repair & Replacement Solutions
Below are the key repair and replacement solutions to fix common oven thermostat problems and improve appliance performance.
-
Test the Oven Thermostat: Use a multimeter and an oven thermometer to compare the actual and set temperatures. If oven thermostat testing confirms a faulty thermostat or oven thermostat calibration does not resolve the issue, replacement is recommended.
-
Inspect the Oven Temperature Sensor: A damaged oven temperature sensor can cause inaccurate oven temperature and oven temperature fluctuations. Replace the sensor if it fails the manufacturer's resistance test.
-
Check Wiring and Connections: Inspect oven thermostat wiring for loose, burnt, or damaged connections that may interrupt proper oven temperature control.
-
Replace the Oven Thermostat: Install a compatible oven thermostat replacement using quality oven replacement parts. Always disconnect power before servicing the appliance.
-
Inspect Other Components: If the thermostat is working, check the heating elements, igniter, control board, and thermal fuse, as these can also cause oven temperature problems.
-
Call a Professional if Needed: For complex electrical issues or commercial appliances, including those with a commercial oven thermostat, a qualified oven repair service can accurately diagnose and safely repair the problem.
Preventive Maintenance Tips to Extend Oven Thermostat Life
Below are essential maintenance practices to extend the life of the thermostat, improve oven performance, and prevent common issues.
-
Clean Regularly: Remove grease, food residue, and debris to maintain heat distribution and thermostat accuracy.
-
Avoid Overheating: Follow recommended temperature limits to reduce thermostat stress and extend its lifespan.
-
Check Temperature Accuracy: Monitor oven temperature regularly to detect thermostat issues early.
-
Inspect Wiring Connections: Check for loose wires or damaged connectors that can cause thermostat failures.
-
Schedule Maintenance: Routine inspections help identify worn components and prevent unexpected downtime.
-
Watch for Warning Signs: Address temperature fluctuations, slow heating, overheating, and uneven cooking before major failures occur.
Find out how to fix a broken heating element in a commercial oven? Complete repair process
Summary: Replace a Faulty Oven Thermostat Before It Affects Cooking Performance
A faulty oven thermostat can lead to inaccurate temperatures, overheating, uneven cooking, and reduced appliance efficiency. Timely testing, repair, or oven thermostat replacement helps restore reliable temperature control and prevents further damage to essential oven components.
Key Takeaways
-
A damaged oven thermostat can cause overheating, slow heating, inaccurate temperatures, and inconsistent cooking results.
-
Testing the thermostat, temperature sensor, and wiring helps identify the exact cause of oven temperature problems.
-
Replacing a faulty thermostat restores accurate oven temperature control and improves appliance reliability.
-
Regular cleaning and maintenance help prevent thermostat wear caused by grease, debris, and excessive heat exposure.
-
Checking wiring connections and temperature accuracy can reduce unexpected oven failures.
-
Using quality oven repair parts ensures better performance, durability, and long-term operation.
FAQs
How much does oven thermostat replacement cost?
The cost of oven thermostat replacement depends on the oven model, thermostat type, replacement part quality, and labor charges. Simple thermostat replacements may cost less, while professional repairs can increase the overall expense.
Can an oven thermostat be calibrated instead of replaced?
Yes, an oven thermostat can sometimes be calibrated if the component is still functioning correctly. However, calibration will not solve problems caused by damaged sensors, electrical faults, or worn thermostat parts.
Why is my oven overheating even at a low temperature?
An oven may overheat due to a faulty thermostat, stuck electrical contacts, incorrect calibration, or a damaged temperature sensor. Replacing the thermostat may be required if it cannot regulate heat properly.
Why is my oven not reaching the correct temperature?
Common causes include a defective thermostat, faulty heating elements, damaged sensors, calibration issues, or electrical connection problems. Testing the thermostat can help identify the exact cause.
How long does an oven thermostat last?
An oven thermostat can last several years depending on usage frequency, operating temperatures, maintenance, and appliance quality. Regular inspections and timely repairs can help extend its service life.
|
Disclaimer: This content is for informational purposes only. Follow proper safety procedures when replacing an oven thermostat and seek professional assistance for electrical repairs or complex installations. |