Ultimate Guide to Thermocouples: Types, Applications, and Installation Tips
Thermocouples are known for their versatility and efficiency in measuring temperature in various industrial and commercial environments. Serving as important temperature sensors, thermocouples play a crucial role in a wide range of applications, from automotive and manufacturing to food processing and scientific research. This extensive guide is intended to offer a thorough exploration of thermocouples, including different types, their uses across industries, and practical installation tips.
What is a Thermocouple?
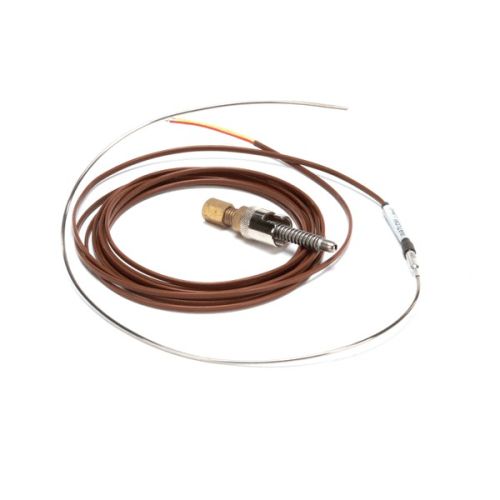
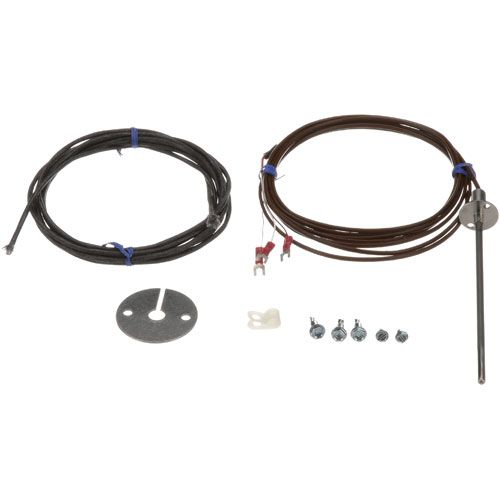
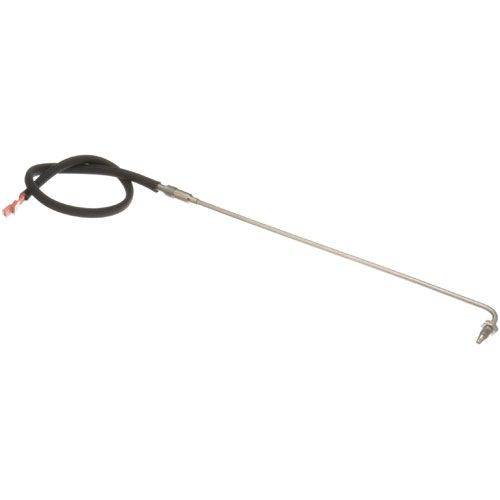
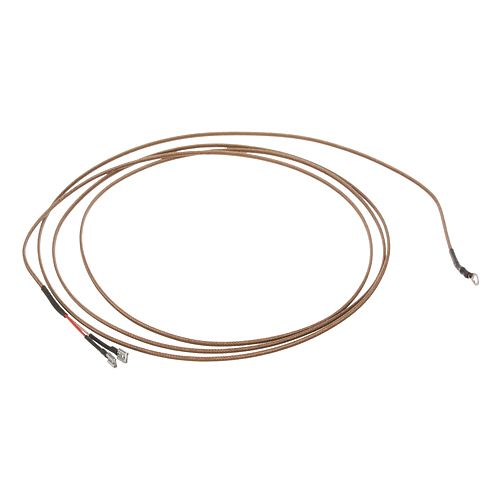
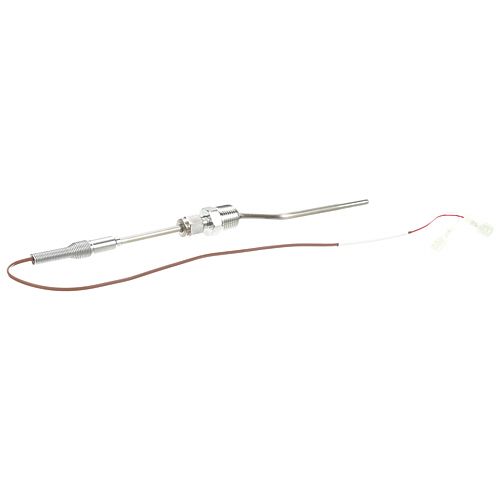
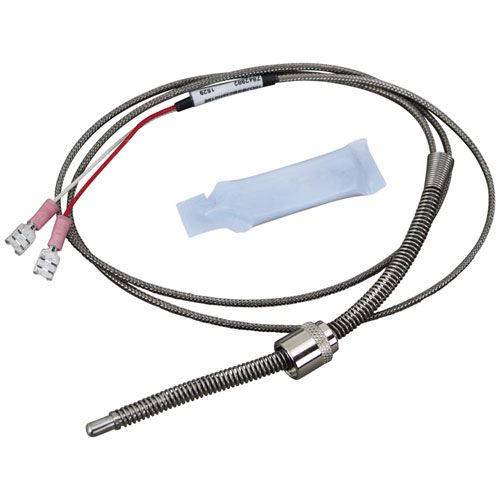
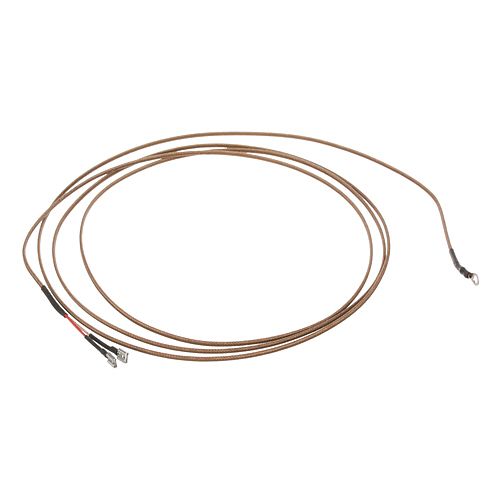
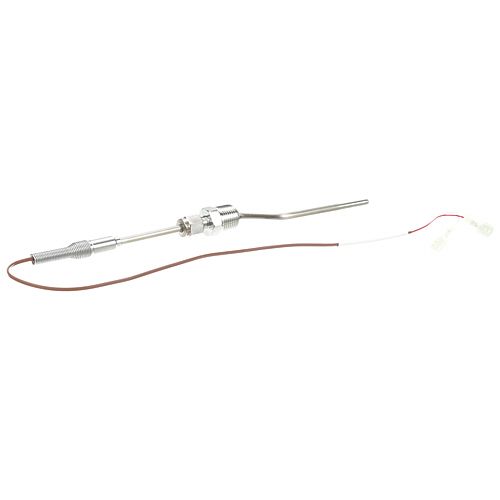
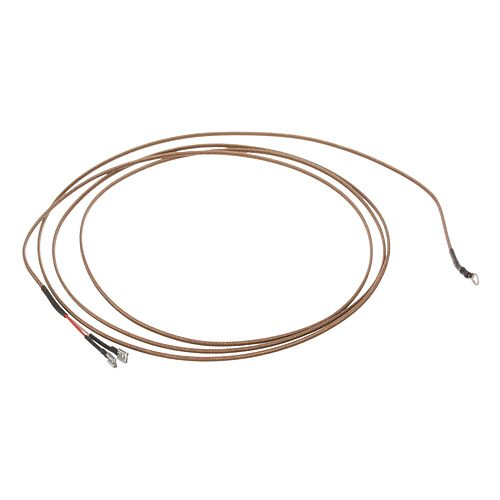
A thermocouple is a sensor used to measure temperature in various devices and applications. It consists of two different metal wires joined at one end, known as the junction. When there is a temperature difference between the junction and the other end of the wires, it creates a small voltage proportional to the temperature difference. This voltage can be measured and used to accurately determine the temperature in a wide range of settings, from household appliances like ovens and water heaters to industrial processes and scientific research. Thermocouples are popular due to their fast response time, durability, and ability to measure high temperatures.
How does a Thermocouple function?
A thermocouple functions based on the principle of the Seebeck effect, which is the creation of a voltage when two different metals are joined together at a junction and there is a temperature difference between the junction and the ends of the metals. When this occurs, it generates an electromotive force (EMF) that is proportional to the temperature difference. This EMF can be measured and used to determine the temperature at the hot junction of the thermocouple.
The thermocouple's ability to create a voltage in response to temperature changes allows it to serve as a temperature sensor in various applications.
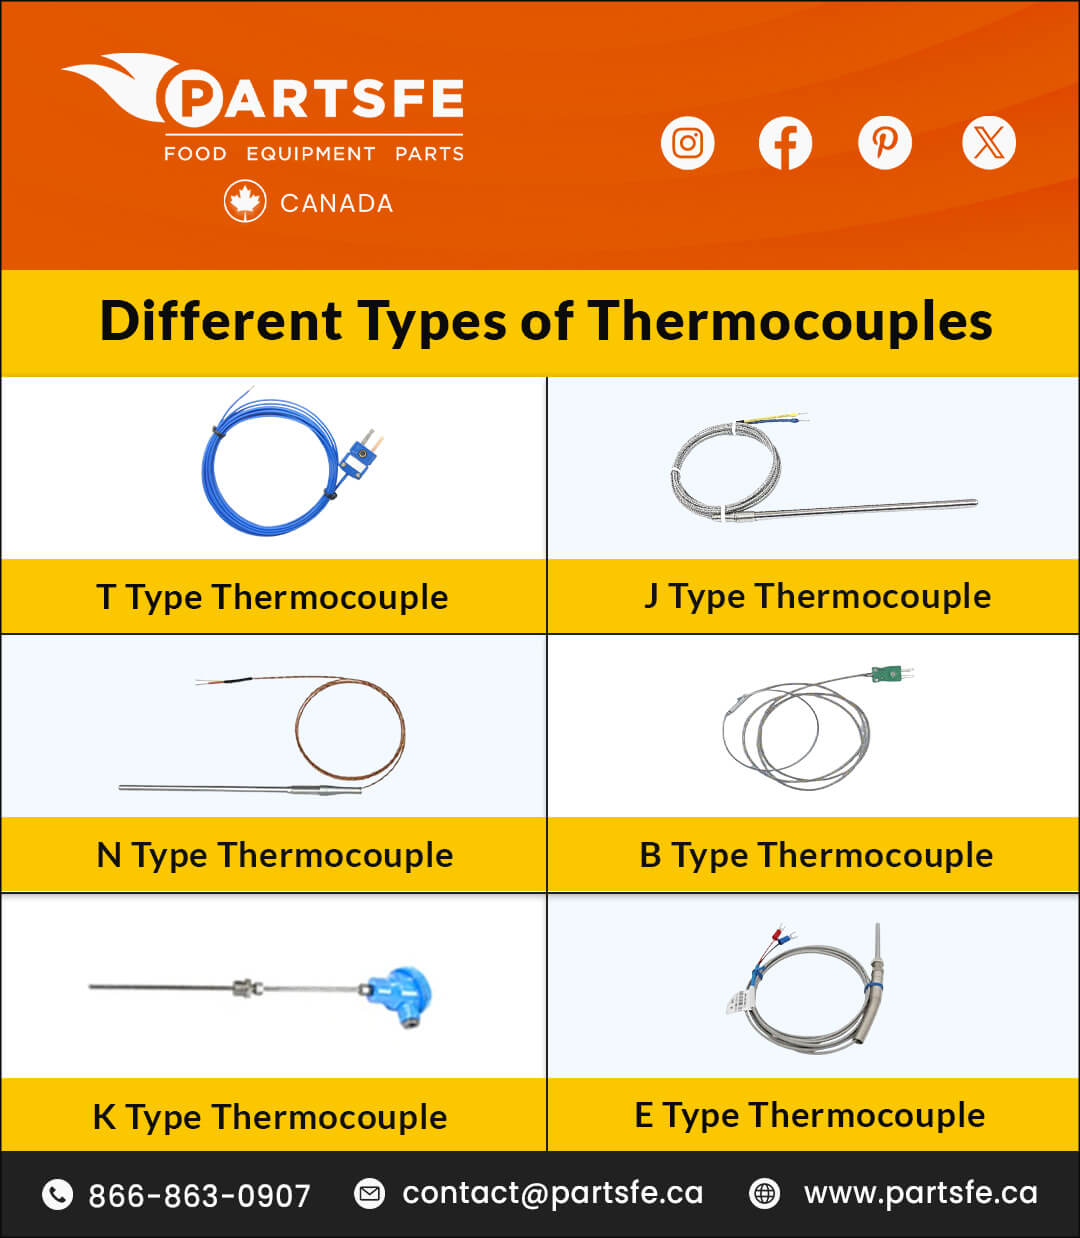
Common Thermocouple Types and Their Applications
|
Thermocouple Type |
Composition |
Temperature Range |
Typical Applications |
|
K Type |
Chromel (positive) and Alumel (negative) |
-200°C to 1,372°C (-328°F to 2,502°F) |
Heating, cooling, and food processing |
|
J Type |
Iron (positive) and Constantan (negative) |
-210°C to 1,200°C (-346°F to 2,192°F) |
Ovens, fryers, and power plants |
|
T Type |
Copper (positive) and Constantan (negative) |
-200°C to 350°C (-328°F to 662°F) |
Cryogenic applications, HVAC, chemical processes |
|
B Type |
Platinum-Rhodium (positive) and Platinum-Rhodium (negative) |
0°C to 1,820°C (32°F to 3,308°F) |
Glass manufacturing, ceramics, aerospace |
|
E Type |
Chromel (positive) and Constantan (negative) |
-200°C to 900°C (-328°F to 1,652°F) |
processing, and Petrochemical applications, food processing, gas turbine exhaust monitoring |
|
N Type |
Nicrosil (positive) and Nisil (negative) |
-200°C to 1,300°C (-328°F to 2,372°F) |
Aerospace, heat treatment processes |
|
R Type |
Platinum (positive) and Platinum-Rhodium (negative) |
-50°C to 1,768°C (-58°F to 3,214°F) |
Metal refining, combustion control, laboratory research |
Identifying a Faulty Thermocouple
|
Method |
Description |
|
Visual inspection |
Check for physical damage, corrosion, or discoloration on the thermocouple wires and connections. |
|
Testing for continuity |
Use a multimeter to check for continuity. No continuity indicates a faulty thermocouple. |
|
Measuring voltage |
Heat the thermocouple and measure the voltage generated. If it does not align with the expected temperature, it may be faulty. |
|
Comparative measurement |
Compare temperature readings from the thermocouple with another reliable temperature sensor. Significant discrepancies may indicate a fault. |
|
Interacting with the system |
Observe if the system is not functioning as expected or shows erratic temperature readings; this may suggest a faulty thermocouple. |
Step-by-Step Guide to Replacing a Thermocouple
- Turn off the appliance: If the thermocouple is part of a gas-powered appliance such as a water heater or furnace, ensure that the gas supply is turned off before starting the replacement process.
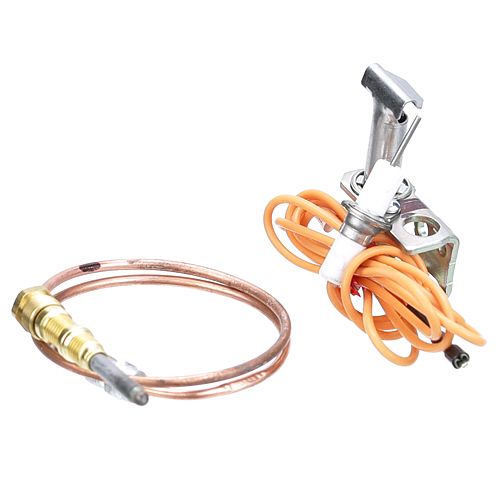
- Locate the thermocouple: It can be found close to the pilot light or in the vicinity where the temperature needs to be gauged.
- Remove the old thermocouple: Unplug the old thermocouple from the gas valve and the mounting bracket. Loosen any fasteners securing the thermocouple in place, and cautiously take it out of the appliance.
- Note the routing: Take note of how the old thermocouple was routed within the appliance to ensure the new one is installed correctly.
- Install the new Thermocouple: Position the new thermocouple in place, ensuring that it is securely attached to the mounting bracket and the gas valve. Route the new thermocouple in the same manner as the old one, if applicable.
- Reconnect and test: Once the new thermocouple is in place, reconnect it to the gas supply and the relevant components. Turn on the gas and relight the pilot according to the appliance's instructions.
- Test the functionality: After the new thermocouple is installed, test the appliance to ensure that the thermocouple is functioning properly and accurately detecting the temperature.
Cost of Replacing Thermocouples in Commercial Kitchen Appliances
|
Item |
Cost Range (CAD) |
|
Thermocouple replacement |
$13.50 - $67.50 |
|
Labor cost (hourly rate) |
$13.50 - $67.50 |
|
Total estimated cost |
Varies (thermocouple + labor) |
Note: Prices may vary based on appliance type, brand, and service provider. Contact local service providers for accurate pricing tailored to your needs.
How to Clean and Maintain a Thermocouple
- Locate the thermocouple assembly: Find the assembly where the thermocouple's tip usually touches the pilot light.
- Detach the thermocouple from the gas valve: Use an adjustable wrench to disconnect the thermocouple from the gas valve, if needed.
- Clean the tip: Using a soft brush, gently clean the tip of the thermocouple to remove any soot, dust, or debris that may have accumulated. Ensure that the tip is free from any obstructions that could affect its ability to detect temperature accurately.
- Check for corrosion: Check the thermocouple for any indications of corrosion or harm. If you notice substantial corrosion, it might be essential to swap out the thermocouple to guarantee it works correctly.
- Reinstall the Thermocouple: Once the cleaning is complete, reattach the thermocouple to its mounting bracket and reconnect it to the gas valve or other relevant components.
Leading manufacturers of Thermocouples
|
Brand |
Key Features |
|
Durable, accurate, long-lasting, and compatible. |
|
|
Vulcan |
Precise, robust, high performance, and compatible. |
|
Blodgett |
Accurate, high-temperature resistant, and safe. |
|
Bakers Pride |
Reliable, precise, durable, and easy to install. |
|
Imperial |
Quality construction, consistent readings, and reliability. |
Thermocouples, known for their precision, resilience, and ability to measure a wide range of temperatures, are indispensable temperature sensors across various industries and applications. When selecting a thermocouple, whether it's a Type K for general use, a Type J for lower temperatures, or a specialized thermocouple for extreme conditions, it's important to consider factors like temperature range, accuracy, environmental factors, and cost to ensure optimal performance. Accurate temperature readings and reliable data for process control and monitoring can be obtained by ensuring the proper installation of thermocouples. Maximizing the efficiency and lifespan of your thermocouples can be achieved by following best practices such as correct positioning, insulation, grounding, and regular calibration. Discover all types of high-quality thermocouples at PartsFe.Ca, perfect for your commercial kitchen appliances, including ovens, furnaces, and water heaters.
FAQs
What factors should be considered when selecting a thermocouple type?
Factors to consider include temperature range, chemical compatibility, accuracy requirements, response time, and cost.
How accurate are thermocouples in temperature measurement?
Thermocouples are known for their good accuracy, typically within a range of +/- 1 to 3 degrees Celsius, depending on the type and calibration.
What are some common installation tips for thermocouples?
Ensure proper placement of the thermocouple tip for accurate readings, minimize electrical interference, use appropriate connection methods, and consider insulation and protection in harsh environments.
How long do thermocouples last before needing replacement?
The lifespan of a thermocouple depends on factors such as operating conditions, usage frequency, and environmental stresses, but they typically last for several years before requiring replacement.


