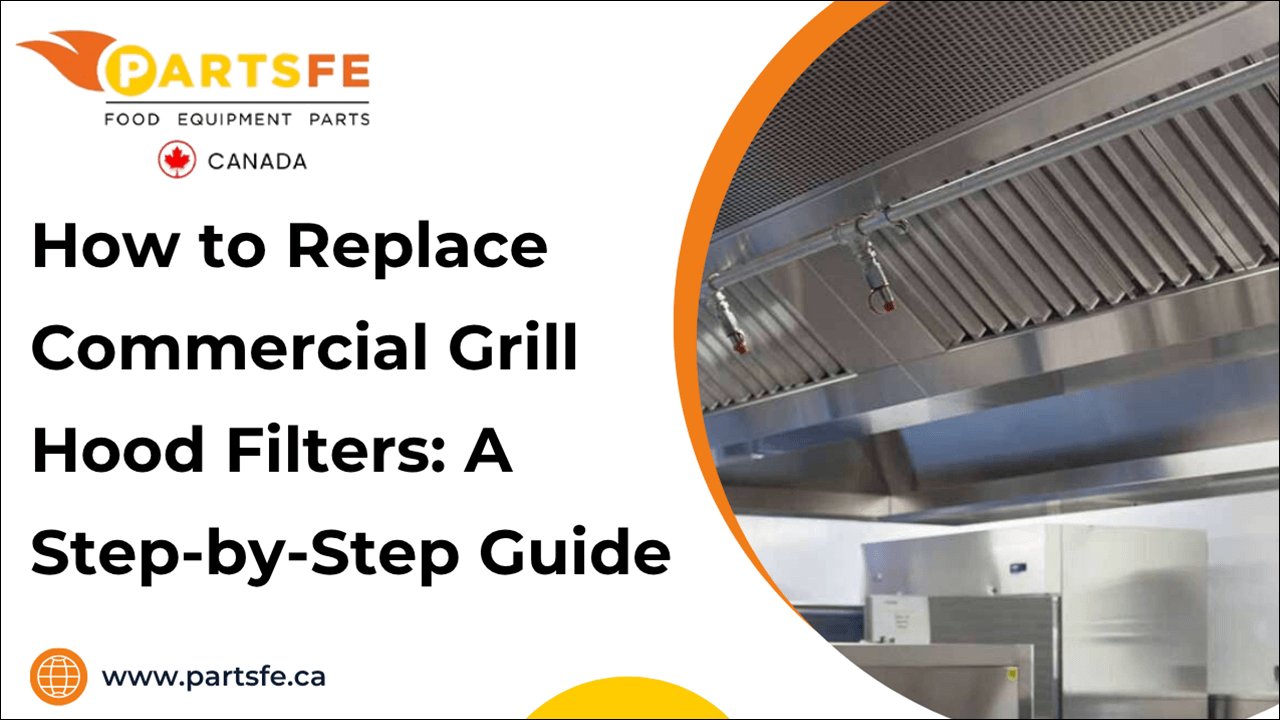
How to Replace Commercial Grill Hood Filters: A Step-by-Step Guide
In a busy commercial kitchen, the grill hood filter plays a vital role in maintaining air quality and reducing fire hazards by trapping grease and smoke. Over time, these filters become clogged and less effective, making regular replacement essential for both safety and efficiency. Neglecting this simple task can lead to poor ventilation, health code violations, or even dangerous grease fires. Fortunately, learning how to replace hood filters is a straightforward process that can be done with minimal tools and time. This guide will walk you through each step, helping you understand when to replace the hood filters, how to do it correctly, and what to watch out for during the process. Stay compliant, safe, and efficient by keeping your filters in top shape.
Why Commercial Grill Hood Filters Matter and When to Replace Them
Commercial grill hood filters are essential to maintaining a clean, safe, and code-compliant kitchen environment. These filters trap grease, smoke, and airborne particles generated during cooking, preventing buildup in the exhaust system and minimizing fire hazards. Regular inspection and timely replacement of filters help ensure your kitchen remains safe and runs efficiently.
Here’s Why These Filters Matter:
-
Fire Prevention: Filters catch grease before it can accumulate in the ductwork and ignite.
-
Better Air Quality: Smoke, smells, and dangerous airborne particles are all lessened by a clean filter.
-
Energy Efficiency: Better airflow from unclogged filters eases the burden on your ventilation system.
-
Code Compliance: Regular maintenance ensures you meet local fire and health safety regulations.
When to Replace:
-
Grease Saturation: Filters that are clogged with grease and no longer clean properly reduce airflow and increase fire risk.
-
Reduced Ventilation Efficiency: When filters become blocked, exhaust fans work harder, causing poor airflow and smoky kitchen environments.
-
Physical Damage: Warped, cracked, or corroded filters cannot trap grease effectively and compromise safety.
-
Exposure to Heat or Fire: Filters showing burn marks or discoloration from excessive heat must be replaced immediately to prevent hazards.
-
Wear and Tear Over Time: Regular use causes filters to deteriorate, making scheduled replacement essential for ongoing performance.
Looking to replace your commercial grill hood filters quickly? PartsFeCA offers high-quality replacement filters, grease filters, and vent hoods from leading brands like CaptiveAire, Kason, and Flame Guard, ensuring the best fit and performance for your kitchen. Shop now for certified replacement filters that keep your ventilation system running smoothly!
Check out this guide on seasoning commercial grill grates to support cleaner cooking and longer-lasting filters.
Signs Your Commercial Grill Hood Filters Need Replacement
Regularly checking your grill hood filters helps maintain kitchen safety and ventilation efficiency. Knowing the signs of wear or damage ensures timely replacement before problems arise.
-
Visible Clogging: Grease and debris visibly coat the filter surface despite cleaning.
-
Increased Kitchen Heat or Smoke: Excess heat or smoke indicates filters aren’t capturing contaminants effectively.
-
Unusual Exhaust Fan Noises: Louder or strained fan sounds suggest restricted airflow from clogged filters.
-
Frequent Cleaning Needed: Filters require cleaning more often without noticeable improvement.
-
Persistent Odors: Lingering smoky or greasy smells despite ventilation.
-
Filter Deformation: Bent, warped, or ill-fitting filters that compromise proper sealing.
Early detection of these indicators keeps your kitchen safe and in compliance.
Safety Precautions Before Replacing Commercial Grill Hood Filters
Replacing commercial grill hood filters involves grease buildup and safety risks. Always follow proper precautions to protect staff and maintain a safe kitchen environment.
-
Turn Off the Power: Always switch off the exhaust fan and any electrical equipment connected to the hood to prevent accidents.
-
Allow Equipment to Cool: Make sure the cooking equipment and hood have completely cooled down to avoid burns.
-
Wear Protective Gear: To guard against oil, sharp objects, and debris, put on gloves, safety goggles, and long sleeves.
-
Use a Stable Ladder or Platform: If filters are positioned high, ensure you have a sturdy ladder or platform to avoid falls.
-
Maintain a Close By Fire Extinguisher: In case of unplanned flare-ups, keep a Class K fire extinguisher close at hand.
-
Ventilate the Area: Ensure proper ventilation during the process to minimize exposure to grease fumes and dust.
-
Check Local Regulations: Be mindful of any local safety and disposal laws pertaining to the replacement of filters and grease.
-
Avoid Using Excessive Force: Handle filters carefully to prevent damage to the hood system or injury.
Following these precautions helps ensure a safe and smooth filter replacement process, protecting both personnel and property.
Step-by-Steps to Replace Commercial Grill Hood Filters
Commercial grill hood filter replacement is essential for maintaining kitchen safety and ensuring proper ventilation. Follow these clear steps to replace your filters safely and effectively:
Step 1: Turn Off Equipment
Switch off the exhaust fan and any connected electrical appliances to avoid electrical hazards during replacement.
Step 2: Allow Equipment to Cool
Wait until the grill hood and cooking equipment have completely cooled to prevent burns or injuries.
Step 3: Prepare a Clean Work Area
Lay down protective mats or towels and clear nearby surfaces to prevent contamination and make cleanup easier.
Step 4: Remove Old Filters
Carefully slide or lift the old filters out of the hood frame. Knowing how to remove hood filter components safely is key to avoiding damage and injury.
Step 5: Clean the Hood Frame
Wipe down the filter slots and surrounding areas to remove any accumulated grease and debris before installing new filters.
Step 6: Inspect New Filters
Check the new filters for any defects or damage to ensure they are safe and effective.
Step 7: Install New Filters
Securely place the new filters into the hood frame, making sure they fit snugly and there are no gaps.
Step 8: Restore Power
Turn the exhaust fan and any electrical equipment back on after installation is complete.
Step 9: Test Operation
Confirm that the ventilation system is functioning properly and that the new filters are correctly positioned.
You can keep your commercial kitchen environment safe, hygienic, and productive by following these guidelines.
Final Safety Checks and Compliance After Replacing Commercial Grill Hood Filters
After replacing commercial grill hood filters, performing final safety checks is essential to ensure the system operates safely and meets all regulatory requirements. Compliance with local codes protects your kitchen from fire hazards and legal issues.
Here are key safety checks and compliance points to follow:
-
Verify Filter Installation: Ensure all filters are securely in place, properly aligned, and fit snugly without gaps.
-
Test Exhaust Fan Operation: Turn on the ventilation system and confirm it runs smoothly without unusual noises or vibrations.
-
Check Airflow: Assess that airflow is consistent and adequate to effectively remove smoke, grease, and heat.
-
Inspect for Grease Buildup: Look for any residual grease around the hood, ductwork, or fan that could pose a fire risk.
-
Confirm Power Disconnection During Work: Double-check that all power sources were turned off during filter replacement to prevent accidents.
-
Review Local Fire Codes: Make sure your filter replacement frequency and procedures comply with local fire safety and health regulations.
-
Document Maintenance: Keep records of filter replacement dates, cleaning, and inspections to demonstrate compliance during audits.
-
Schedule Professional Inspections: Regularly have certified professionals inspect and service your hood and ventilation system.
Performing these final checks and ensuring compliance helps maintain a safe kitchen environment while preventing costly fines and unexpected downtime.
How to Keep Your Commercial Grill Hood Filters Running Like New
Maintaining your commercial grill hood filters in top condition is essential for kitchen safety, air quality, and system efficiency. With proper care, you can extend their lifespan and avoid costly replacements.
Here are proven tips to keep your filters working effectively:
-
Clean Filters Weekly: In busy commercial kitchens, clean filters at least once a week using hot water and a commercial-grade degreaser to remove stubborn grease buildup.
-
Soak Before Scrubbing: Soak filters in degreasing solution for 15-30 minutes before scrubbing to loosen hardened grease without damaging the filter.
-
Use Soft Brushes: Use non-abrasive brushes to clean filters gently and avoid bending or damaging the metal mesh.
-
Avoid Dishwasher Cleaning: Commercial grill hood filters can warp or corrode in dishwashers and always hand wash them.
-
Check Filter Fit: Ensure filters fit tightly and securely to prevent grease from bypassing the filter and clogging ductwork.
-
Schedule Professional Duct Cleaning: Regular professional cleaning of ducts and exhaust fans complements filter maintenance and prevents fire hazards.
-
Replace Filters on Time: Even with good maintenance, replace filters every 3 to 6 months, depending on kitchen volume and local regulations.
-
Keep Cooking Areas Clean: Minimize grease entering the hood by regularly cleaning grills, fryers, and surrounding areas.
Following these practical tips keeps your grill hood filters efficient, extends their lifespan, and helps maintain a safe commercial kitchen.
Check out this guide on effective ways to clean your grill grates to keep your entire ventilation system running smoothly.
Conclusion
Commercial grill hood filters must be changed on a regular basis to keep the kitchen atmosphere safe, effective, and compliant. By following a systematic approach and adhering to safety precautions, you can ensure your ventilation system functions optimally, reducing fire risks and improving air quality. Just like sourcing reliable parts for Taylor ice cream machine maintenance, timely filter replacement and regular upkeep protect your kitchen staff and equipment while helping meet health and safety regulations. With these steps and best practices, you’ll keep your commercial kitchen running smoothly and safely for years to come.
FAQs
How often should commercial kitchen hood filters be replaced?
Commercial kitchen hood filters should typically be replaced every 3 to 6 months, depending on cooking volume and grease output. High-traffic kitchens may need more frequent replacements to maintain safety and efficiency.
How to clean commercial range hood filters?
Remove the filters and soak them in a degreasing solution or hot soapy water for 15–30 minutes. Scrub gently with a non-abrasive brush, rinse thoroughly, and let them dry completely before reinstalling.
Are hood filters washable?
Yes, many commercial hood filters, especially stainless steel baffle filters, are washable. However, they must be cleaned regularly and replaced if damaged or heavily clogged.
How to change a hood filter in a commercial kitchen?
To change a hood filter, turn off the exhaust system, let it cool, then remove the old filter and replace it with a new one of the same size and type. Make sure the new filter fits securely to maintain proper airflow and fire safety.