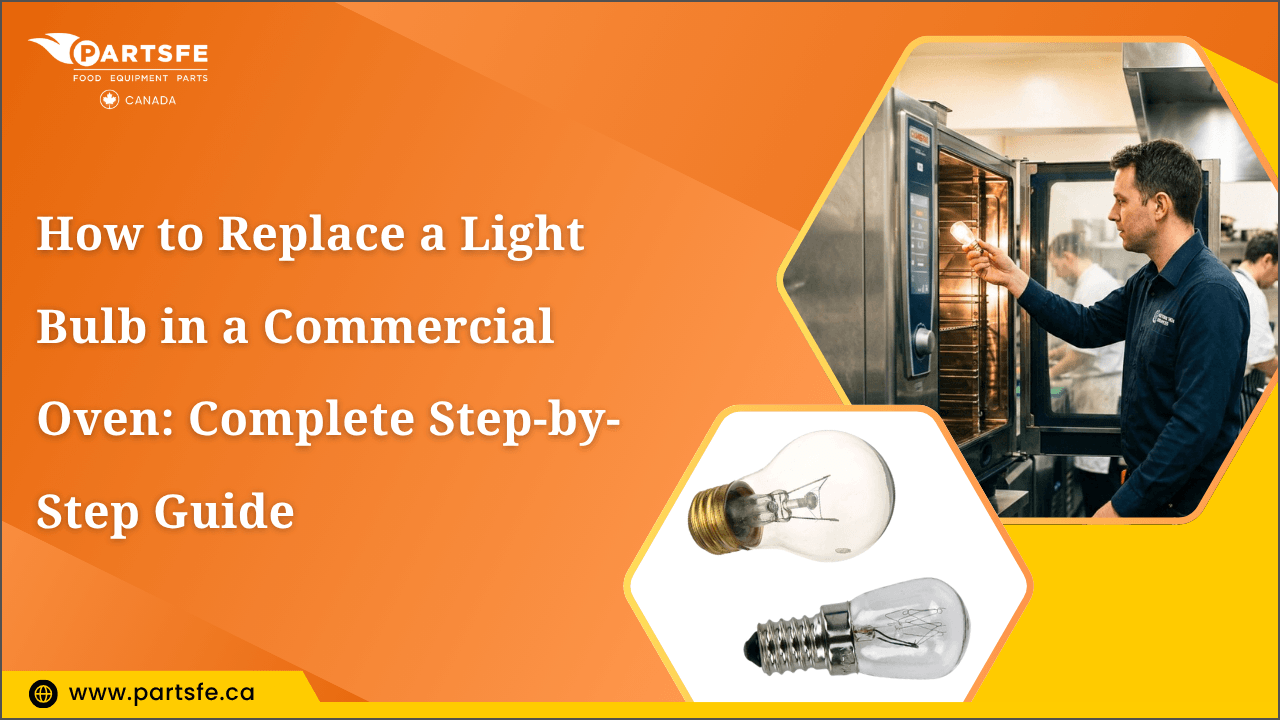
How to Replace a Light Bulb in a Commercial Oven: Complete Step-by-Step Guide
A working oven light helps commercial kitchen staff monitor food without repeatedly opening the oven door and losing heat. When the bulb burns out, becomes dim, or stops working, a proper oven light bulb replacement can restore visibility and support smoother cooking operations.
Commercial ovens operate at high temperatures, so replacing the bulb requires more care than changing a standard household light. The replacement must match the oven’s voltage, wattage, base, and temperature requirements, while the light cover and socket should also be checked for damage.
This blog explains the supplies needed, the steps for replacing a commercial oven light bulb, common problems to troubleshoot, and how to select the right high-temperature light bulb for your oven.
What You Need Before Replacing a Commercial Oven Light Bulb
Replacing a commercial oven light bulb is easier when you have the correct tools and safety equipment ready beforehand. Gather the following items to make the replacement process safer and more efficient.
-
Replacement Bulb: Keep a bulb that matches the oven model and is designed for the operating conditions of a commercial oven.
-
Protective Gloves: Use heat-resistant gloves to protect your hands when handling the bulb, cover, or light housing.
-
Clean Cloth: Use a clean, dry cloth to wipe the light area and handle bulbs that require limited direct contact.
-
Screwdriver: Have the appropriate screwdriver available if the light cover or housing is secured with screws.
-
Flashlight: Use a flashlight to improve visibility when accessing a light assembly inside the oven cavity.
-
Replacement Oven Light Cover: Keep a replacement cover available if the existing cover is cracked, damaged, or difficult to secure properly.
Looking for commercial kitchen parts online? Shop a wide selection of commercial oven parts, including oven racks, oven shelves, range racks, and other replacement parts designed to keep your kitchen equipment operating efficiently and extend its service life.
How to Replace a Light Bulb in a Commercial Oven
The exact replacement procedure varies by commercial oven model, but most light bulb replacements follow a similar sequence as shown in the steps below.
Step 1: Switch Off and Disconnect Power
Turn the oven controls OFF and disconnect the electrical supply. For hardwired equipment, use the appropriate electrical disconnect or circuit breaker.
Step 2: Let the Oven Cool Completely
Allow the oven cavity, racks, light housing, and cover to cool completely before starting. This helps prevent burns and thermal shock to glass components.
Step 3: Locate the Oven Light
Open the oven door and locate the light assembly, typically positioned on the rear or side wall. Remove any racks or accessories blocking access.
Step 4: Remove the Oven Light Cover
Remove the protective cover according to its design, such as a twist-lock, screws, retaining clip, or protective housing. Do not force a stuck cover, as excessive pressure can crack the glass.
Step 5: Remove the Old Bulb
Carefully remove the old bulb by turning a screw-in lamp counterclockwise or following the manufacturer's instructions for pin-style bulbs. Keep power disconnected if the bulb is broken.
Step 6: Inspect the Oven Light Socket
Check the socket for burned contacts, corrosion, loose terminals, carbon deposits, melted plastic, or other damage. A faulty socket can cause flickering or premature bulb failure.
Step 7: Install the Replacement Bulb
Install the correct replacement bulb without overtightening it. Use only a high-temperature light bulb rated for commercial oven applications.
Step 8: Reinstall the Light Cover
Secure the protective cover over the new bulb. Replace any cracked or damaged cover with the correct component before operating the oven.
Step 9: Restore Power and Test
Restore power and test the oven light for proper illumination and flickering. If it does not work or shows abnormal electrical behavior, disconnect power before further troubleshooting.
Check out choosing the right oven: Types, costs, and installation of commercial ovens for practical guidance on selecting the right commercial oven
Common Problems After Replacing a Commercial Oven Light Bulb
The table below covers the most common problems after replacing a commercial oven light bulb, along with their likely causes and practical solutions.
|
Problem |
Cause |
Solution |
|
The oven light does not work after replacing the bulb |
Incorrect bulb, faulty socket, switch, wiring, fuse, or control component |
Verify the bulb’s voltage, wattage, and temperature rating. If correct, inspect the socket and electrical connections. |
|
Replacement bulb keeps burning out |
Incorrect voltage or wattage, loose connection, excessive heat, or incompatible bulb |
Confirm the bulb specifications and inspect the socket for loose or damaged contacts. |
|
Oven light flickers after installing a new bulb |
Loose bulb or poor socket contact |
Disconnect power, then check that the bulb is properly seated and the socket contacts are secure. |
|
Oven light cover will not come off |
Twist-lock mechanism, retaining clip, or grease buildup |
Follow the manufacturer’s removal procedure and clean away grease buildup. Avoid forcing the cover. |
|
LED bulb does not work in the oven |
LED is not rated for high-temperature oven conditions or is electrically incompatible |
Use an LED bulb only when it is specifically approved for the oven and meets the required temperature and electrical ratings. |
|
Oven light is dim after bulb replacement |
Incorrect wattage, dirty cover, poor socket contact, or aging light assembly |
Clean the light cover, verify the bulb specifications, and inspect the socket and light assembly for wear. |
Watch common oven light bulb issues and how to fix them to learn how to identify and fix common oven light problems
How to Choose the Right Replacement Light Bulb for Your Commercial Oven
Choosing the correct replacement bulb involves more than matching its size and shape. The following factors can help you verify compatibility and select a bulb that suits your commercial oven’s electrical and operating requirements.
-
Match the Bulb Specifications: Verify the bulb’s voltage, wattage, base type, shape, and size against the original bulb or the oven's parts documentation. Physical fit alone does not confirm electrical compatibility.
-
Check the Temperature Rating: Commercial ovens operate at high temperatures, so use a high-temperature light bulb or heat-resistant oven light bulb specifically designed for oven applications. Avoid standard household bulbs that are not rated for elevated temperatures.
-
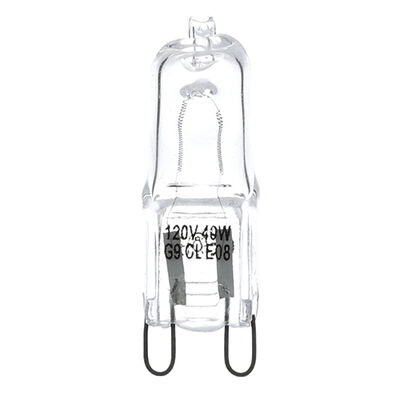
Confirm the Socket and Bulb Type: Make sure the replacement bulb matches the oven light socket, whether the oven uses a screw-base, pin-style, halogen, or another specialized design. An incompatible base can prevent proper contact or damage the socket.
-
Verify the Manufacturer Part Number: When available, use the original bulb's part number or the oven manufacturer's recommended replacement number. This is particularly useful when selecting commercial oven parts for older or specialized equipment.
-
Consider the Oven's Operating Conditions: Select a bulb designed to withstand the oven's heat, vibration, and cooking environment. A properly rated bulb can help reduce premature failures and support routine commercial oven maintenance.
Summary: Maintenance Tips to Extend the Life of Your Commercial Oven Light Bulb
A properly installed, high-temperature oven light bulb helps maintain clear visibility and supports safe, efficient commercial kitchen operations. Always use a bulb that matches your oven’s voltage, wattage, base, size, and temperature requirements. Regularly inspect the socket, light cover, and connections for damage, dirt, or wear. Replacing damaged components and addressing flickering or repeated bulb failures early can help extend the life of your oven light assembly.
Key Takeaways
-
Use only oven light bulbs specifically rated for high-temperature commercial oven applications.
-
Match the replacement bulb’s voltage, wattage, base type, size, and shape to the oven requirements.
-
Always disconnect power and allow the oven to cool completely before replacing the bulb.
-
Inspect the light socket for corrosion, burned contacts, loose connections, or other damage.
-
Keep the light cover clean and replace it if it is cracked or damaged.
-
If a new bulb flickers, fails quickly, or does not work, troubleshoot the socket and electrical components before installing another bulb.
FAQs
Why isn't my commercial oven light working after replacing the bulb?
The issue may involve an incorrect bulb, a damaged oven light socket, a loose connection, a faulty switch, or another electrical component. Confirm the bulb specifications first and inspect the light assembly if the problem remains.
How do I know which oven light bulb is compatible with my model?
Check the oven model and manufacturer's specifications for the required voltage, wattage, base type, bulb design, and temperature rating. The replacement must also be suitable for the oven's operating conditions.
How often should a commercial oven light bulb be replaced?
There is no universal replacement schedule because bulb life depends on usage, temperature, bulb type, and oven conditions. Replace it when it fails, becomes noticeably dim, or shows physical damage.
|
Disclaimer: This article is for informational purposes only. Follow the manufacturer’s instructions and safety procedures when replacing commercial oven light bulbs or components. |